Difference between revisions of "IFTTT Integration"
| Line 9: | Line 9: | ||
#<big>Choose the '''IFTTT Integration''' from the list of Hubitat Elevation Built-In Apps.</big>[[File:Install IFTTT Integration.png|none|thumb|600x600px|link=https://docs.hubitat.com/images/2/27/Install_IFTTT_Integration.png | #<big>Choose the '''IFTTT Integration''' from the list of Hubitat Elevation Built-In Apps.</big>[[File:Install IFTTT Integration.png|none|thumb|600x600px|link=https://docs.hubitat.com/images/2/27/Install_IFTTT_Integration.png | ||
]] | ]] | ||
| − | #<big>The '''Which Location Modes?''' dropdown lets you select any mode you would like to control with the IFTTT Integration.</big>[[File:IFTTT Location Modes.png|none|thumb|600x600px|link=https://docs.hubitat.com/ | + | #<big>The '''Which Location Modes?''' dropdown lets you select any mode you would like to control with the IFTTT Integration.</big>[[File:IFTTT Location Modes.png|none|thumb|600x600px|link=https://docs.hubitat.com/images/c/c3/IFTTT_Location_Modes.png |
]] | ]] | ||
#<big>The '''Which Devices?''' box shows all of the devices currently connected to IFTTT. Selecting the associated check box will allow you to select or remove any devices you would like to control with IFTTT. When you are done selecting devices, choose '''Update'''.</big>[[File:IFTTT Integration select devices.png|none|thumb|600x600px|link=https://docs.hubitat.com/images/3/3c/IFTTT_Integration_select_devices.png | #<big>The '''Which Devices?''' box shows all of the devices currently connected to IFTTT. Selecting the associated check box will allow you to select or remove any devices you would like to control with IFTTT. When you are done selecting devices, choose '''Update'''.</big>[[File:IFTTT Integration select devices.png|none|thumb|600x600px|link=https://docs.hubitat.com/images/3/3c/IFTTT_Integration_select_devices.png | ||
Revision as of 18:53, 29 March 2021

IFTTT (IF This Then That) allows you to connect your Hubitat Elevation to other IFTTT compatible devices and Services to create rules that automate them. Getting started requires enabling devices in the Hubitat IFTTT app, then connecting your account to Hubitat via IFTTT.com
Contents
Installing the IFTTT Integration App
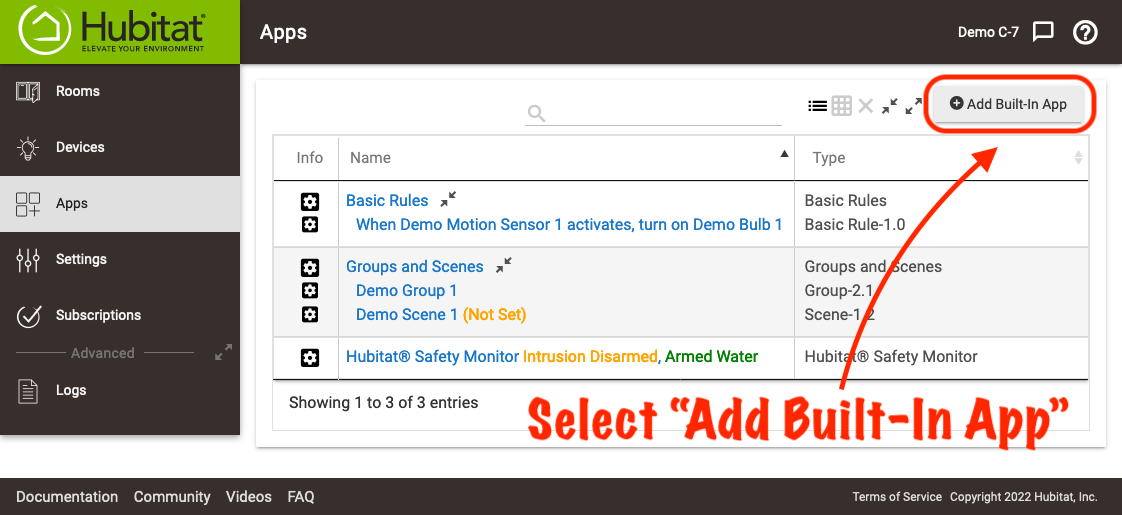
- From the sidebar of your hub, select Apps and press the Add Built-In App button.
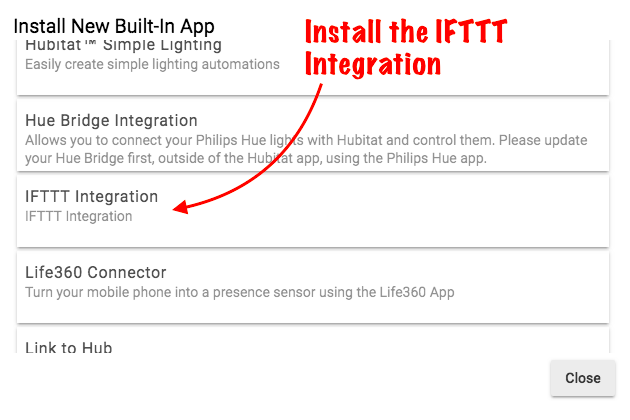
- Choose the IFTTT Integration from the list of Hubitat Elevation Built-In Apps.
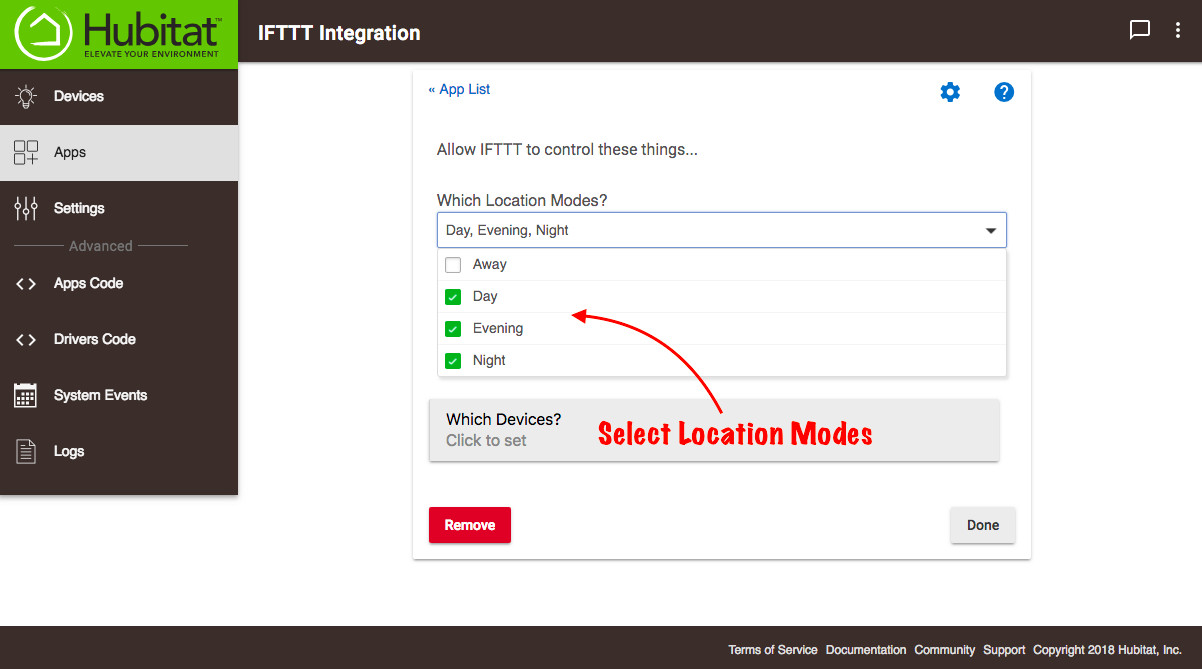
- The Which Location Modes? dropdown lets you select any mode you would like to control with the IFTTT Integration.
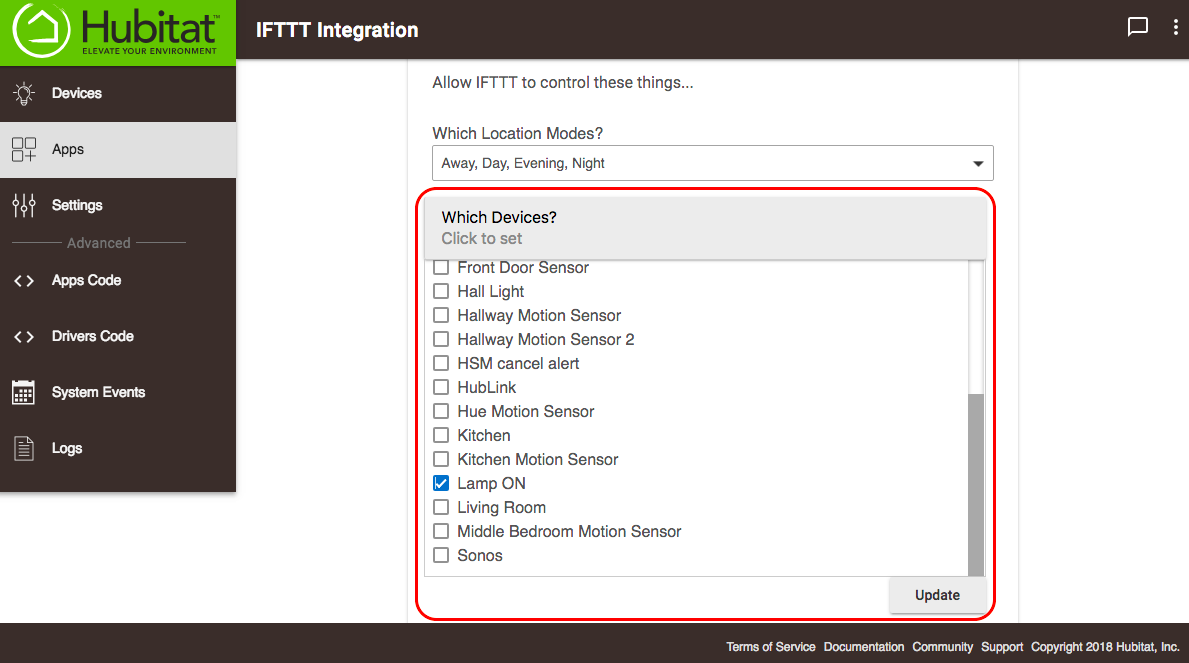
- The Which Devices? box shows all of the devices currently connected to IFTTT. Selecting the associated check box will allow you to select or remove any devices you would like to control with IFTTT. When you are done selecting devices, choose Update.
- When finished with your choices, select Done. NOTE: IFTTT is bi-directional, meaning you may have a device on your Hubitat Elevation you would like to control with a cloud enabled device or service connected to IFTTT, and this is also easily accomplished with the integration.
How to connect IFTTT to your Hubitat Elevation®
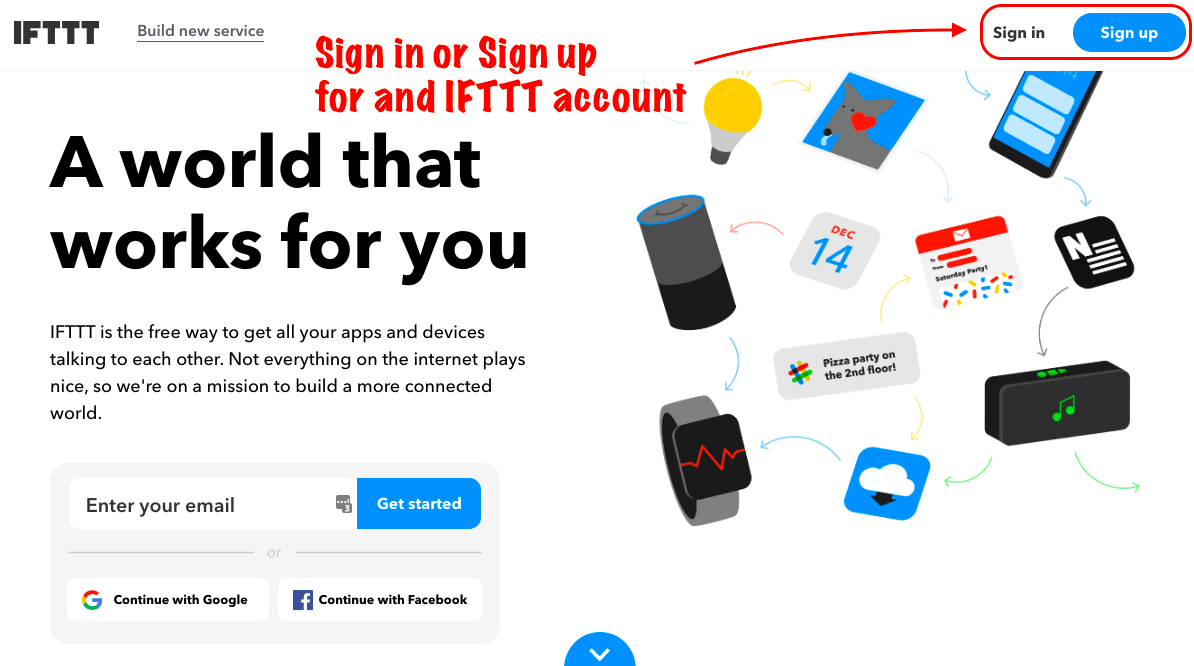
- Go to ifttt.com in a web browser and log in, or sign up for a new account.
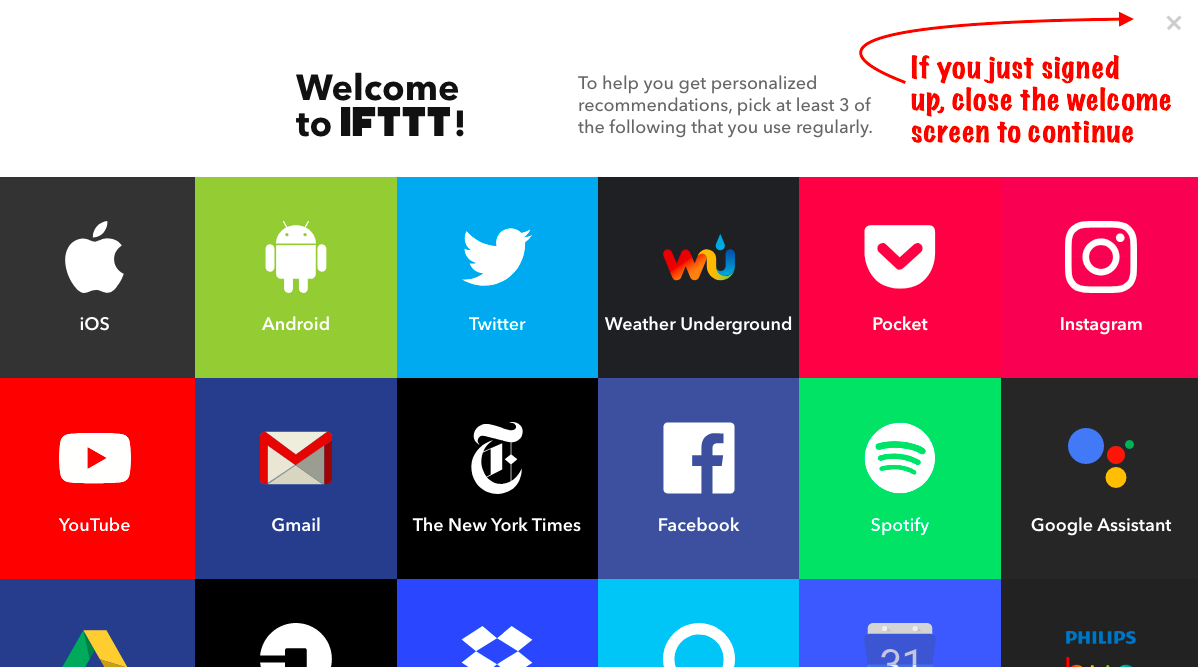
- If this is your first time using IFTTT, close the Welcome screen to continue setting up your first IFTTT automation.
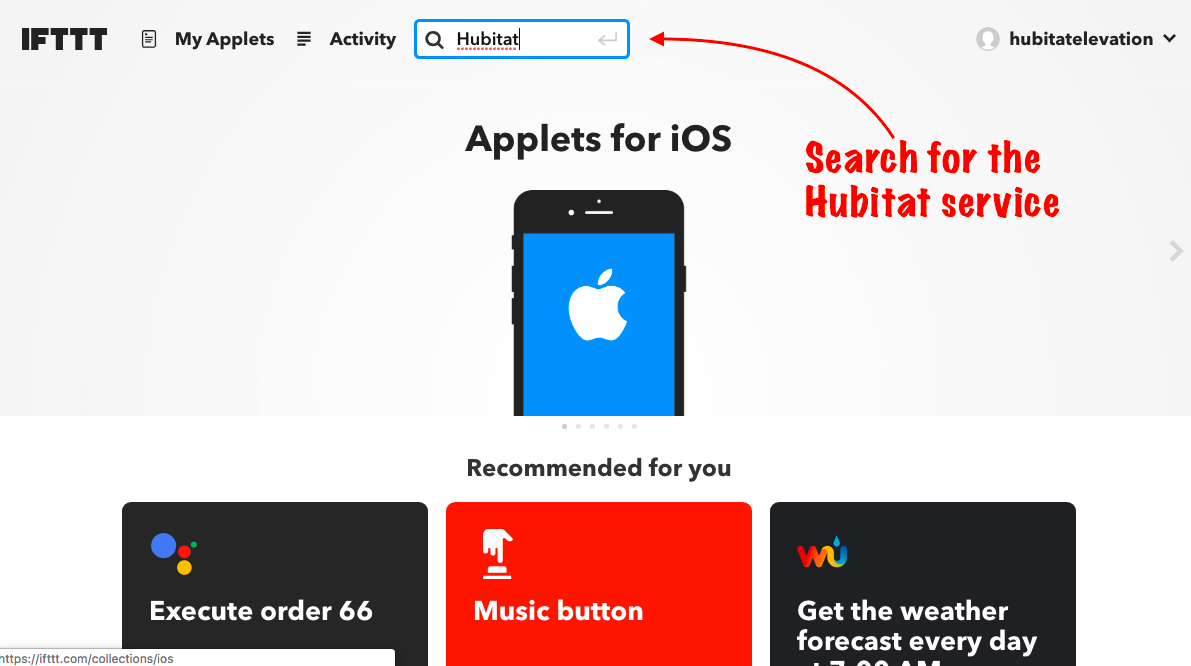
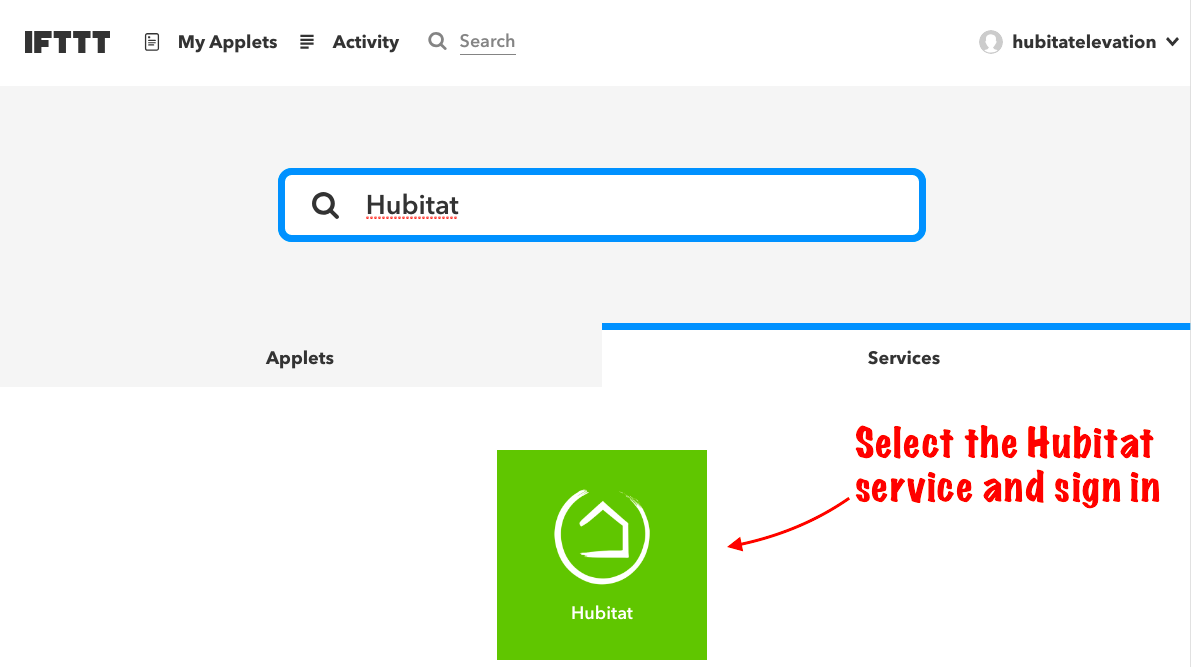
- Search for the Hubitat IFTTT service.
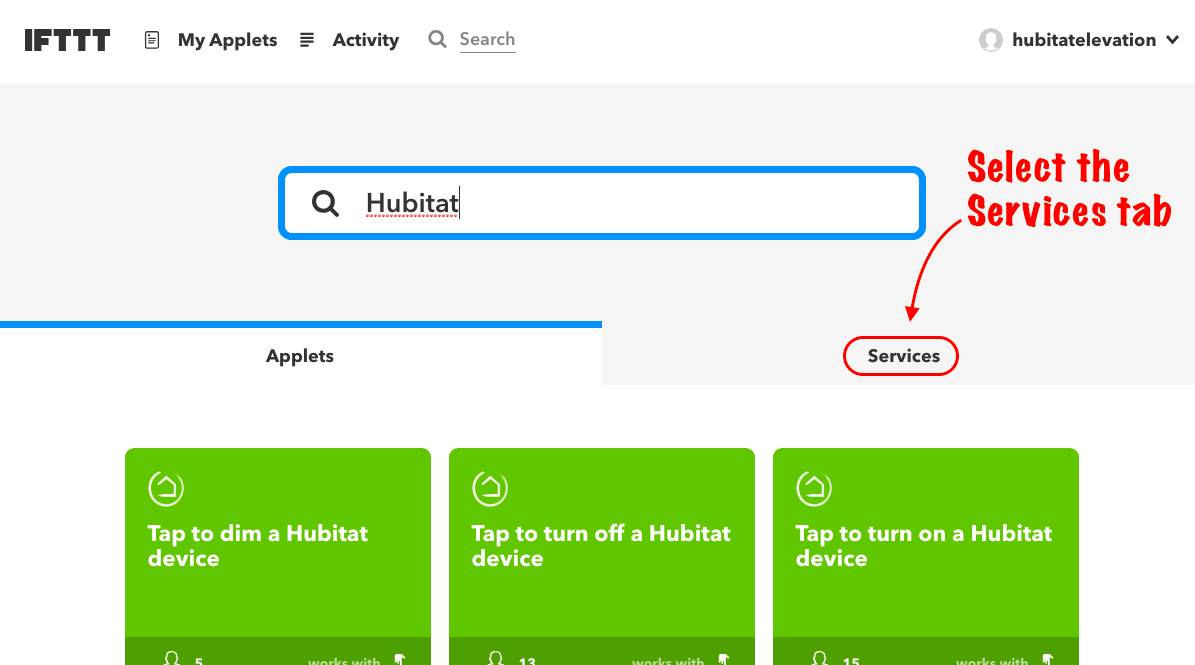
- Once your search finds Hubitat Elevation Applets, select the Services tab.
- Select the Hubitat IFTTT Service and sign in.
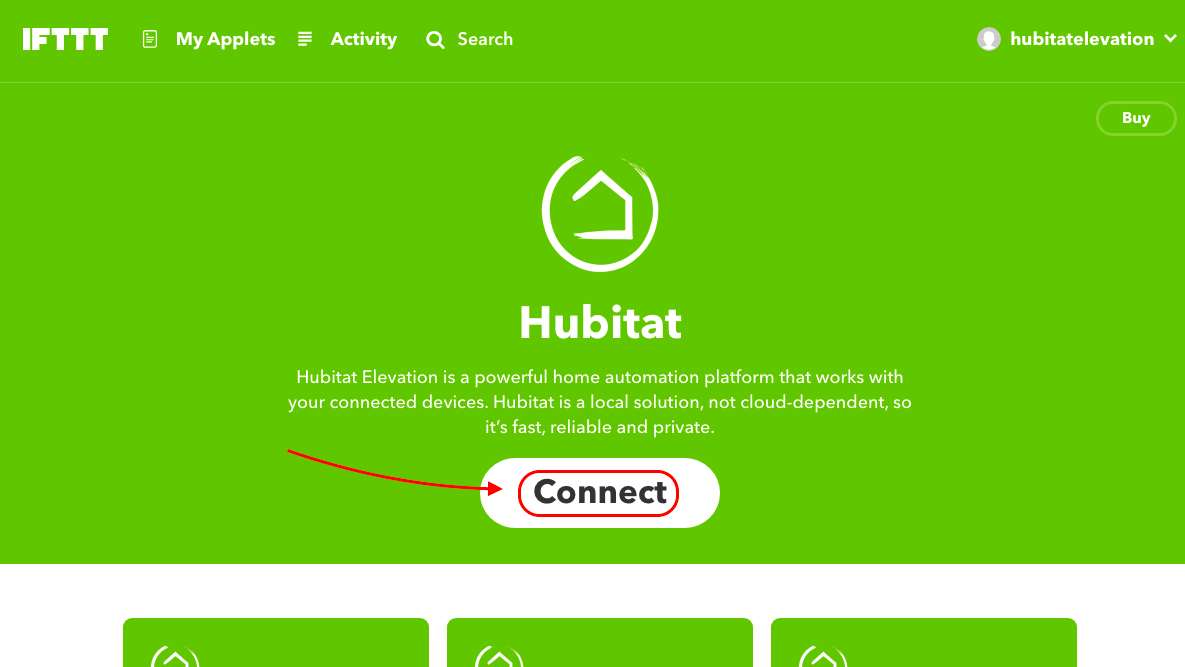
- Push the Connect button.
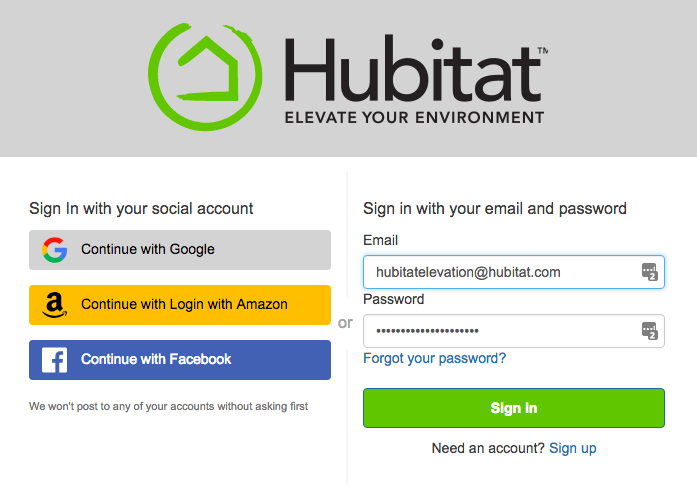
- Sign into your Hubitat account.
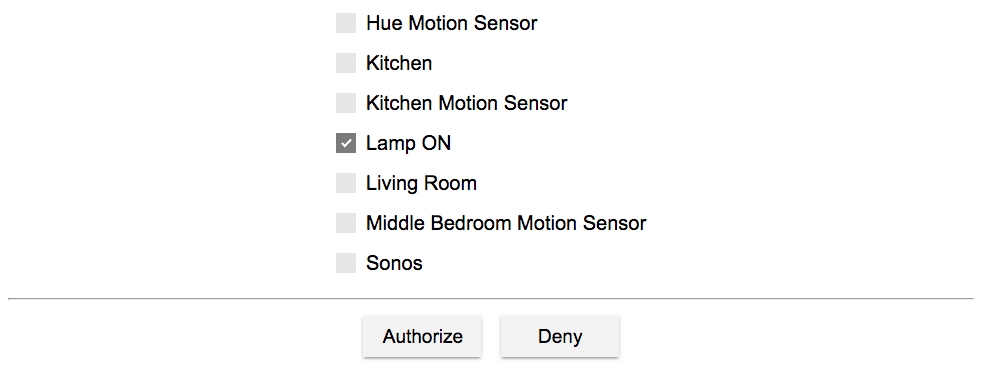
- Select the devices you would like to authorize.
Building your first custom IFTTT Applet
If you've never used IFTTT before, let's start by building a simple IFTTT Applet that turns on a light when we flip a virtual switch in Hubitat Elevation. An IFTTT Applet is a simple automaton flow that says, "IF This" thing (a trigger of some kind) happens, then "That" Action (available for the selected service) should occur. In this simple example, we are going to control an iDevices cloud connected WiFi outlet, by turning on a virtual switch on our Hubitat Elevation®
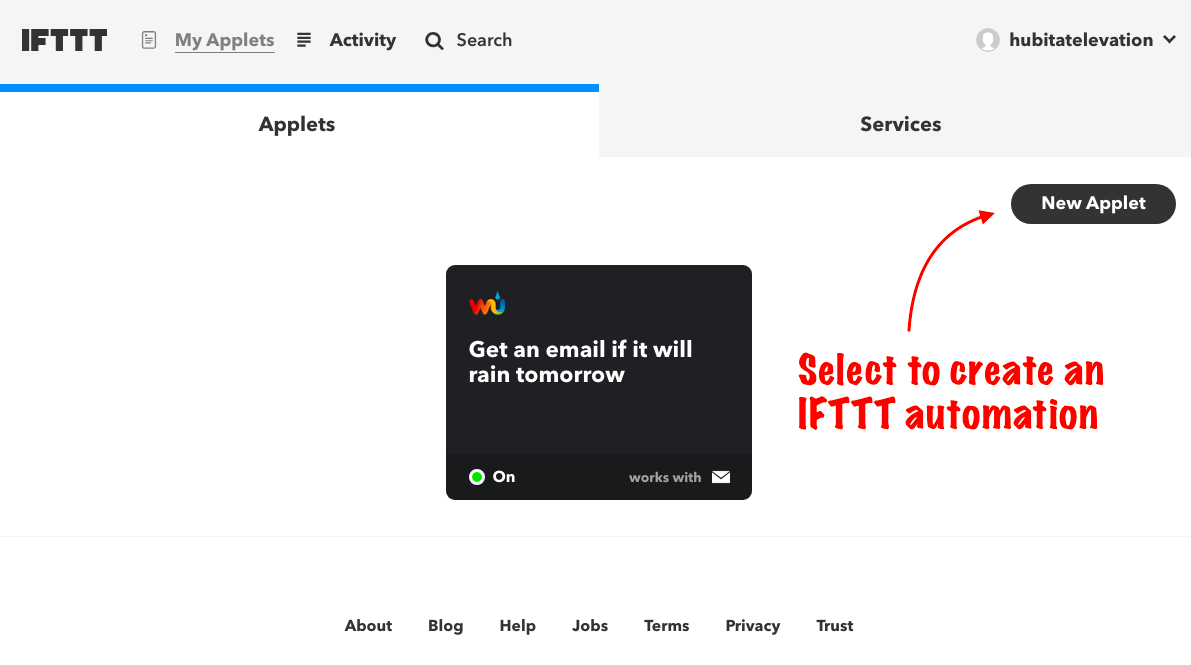
- At the top of the page, choose My Applets, and then select New Applet.
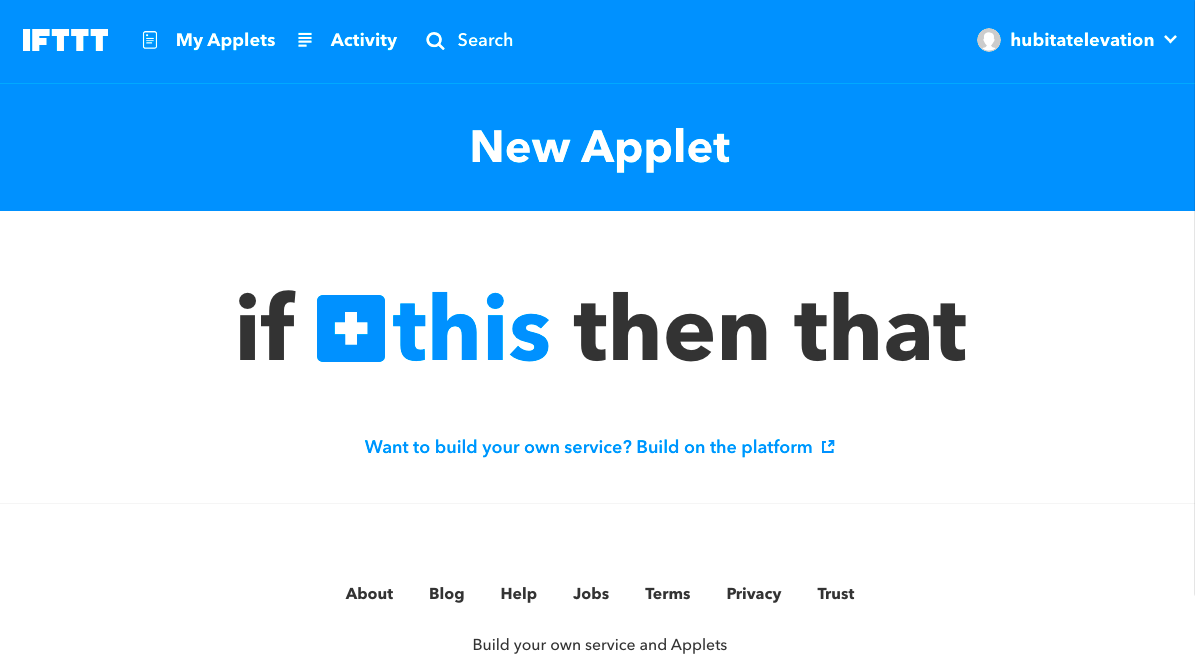
- Click or tap on + this
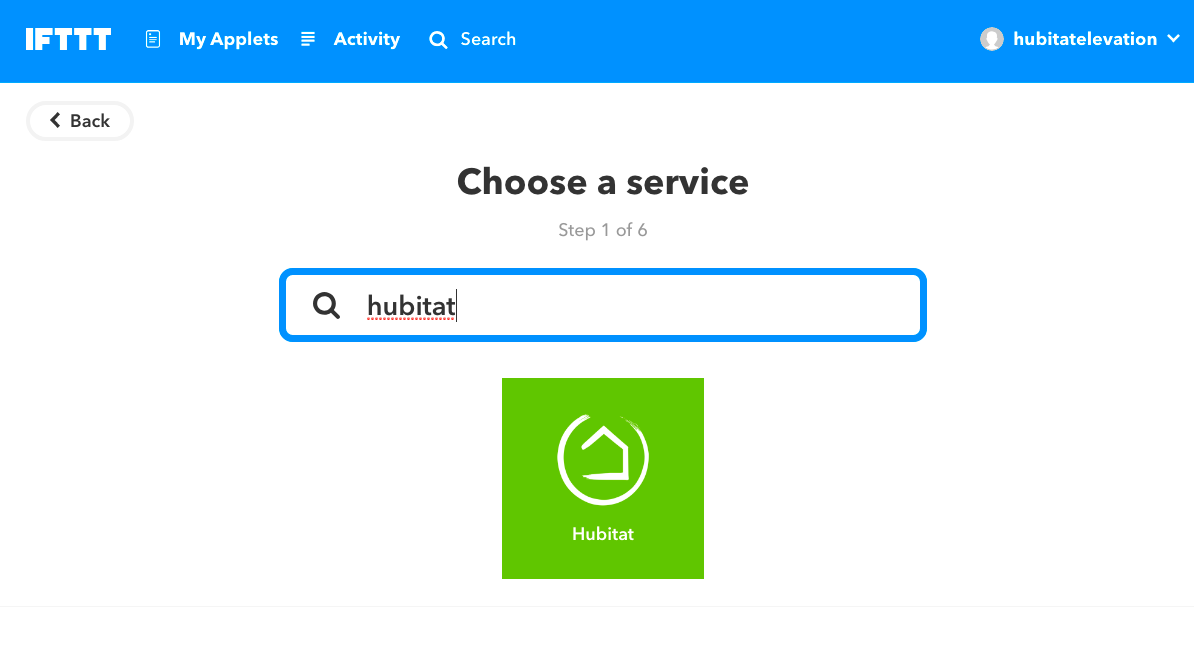
- Search for Hubitat.
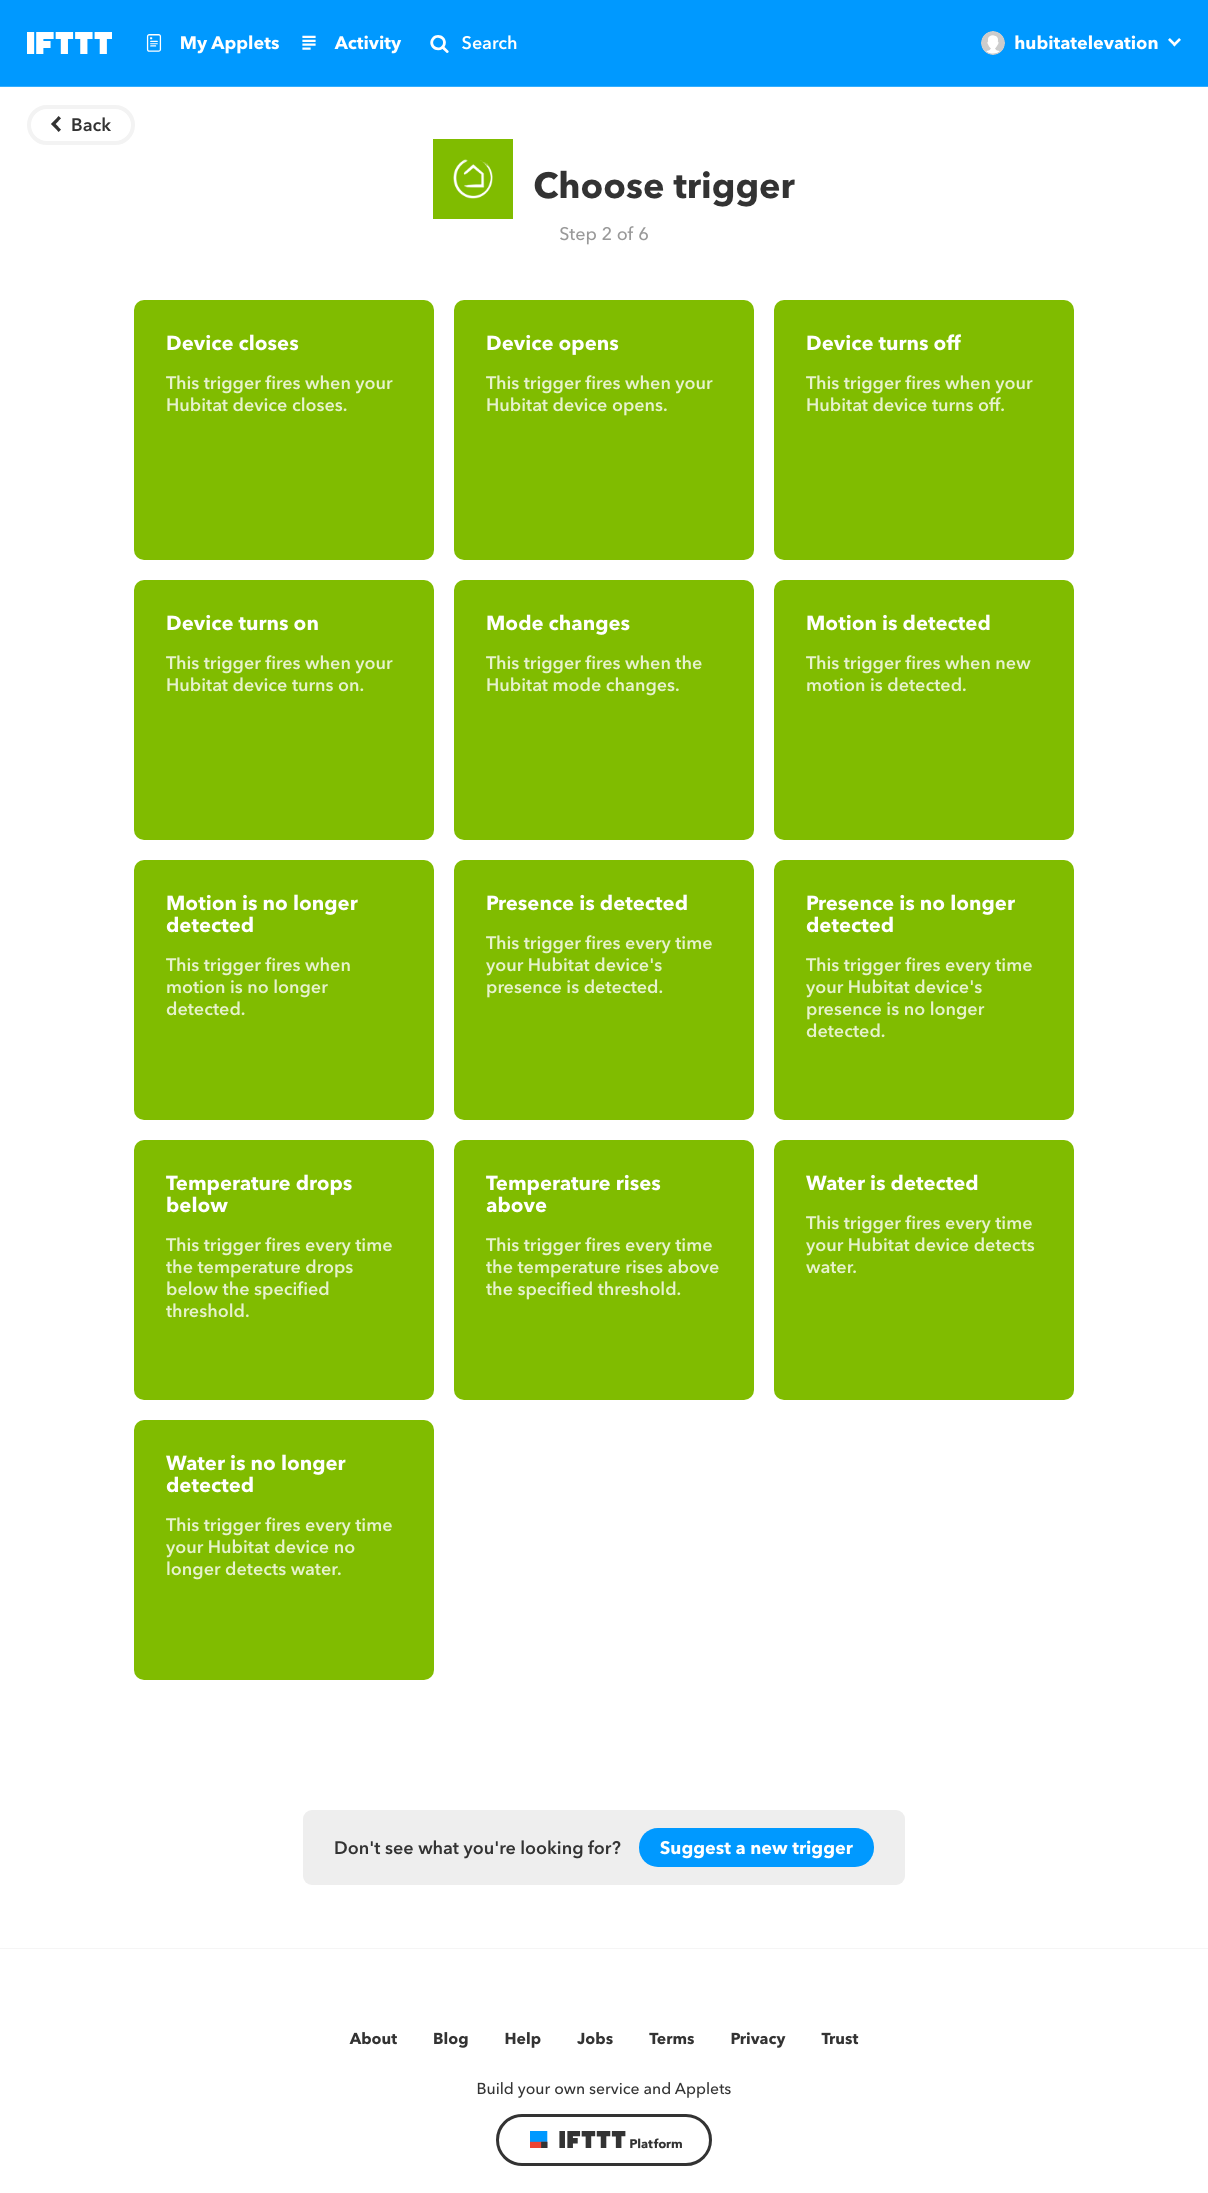
- Choose an available Trigger.
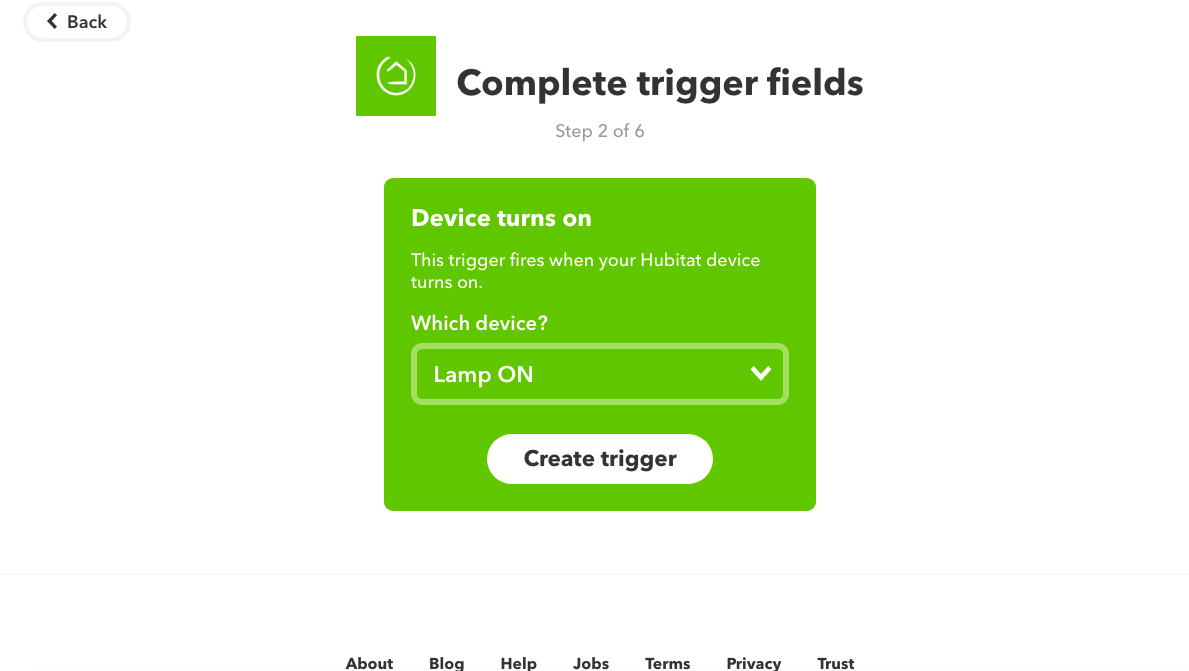
- Define the parameters for the trigger and push the Create trigger button.
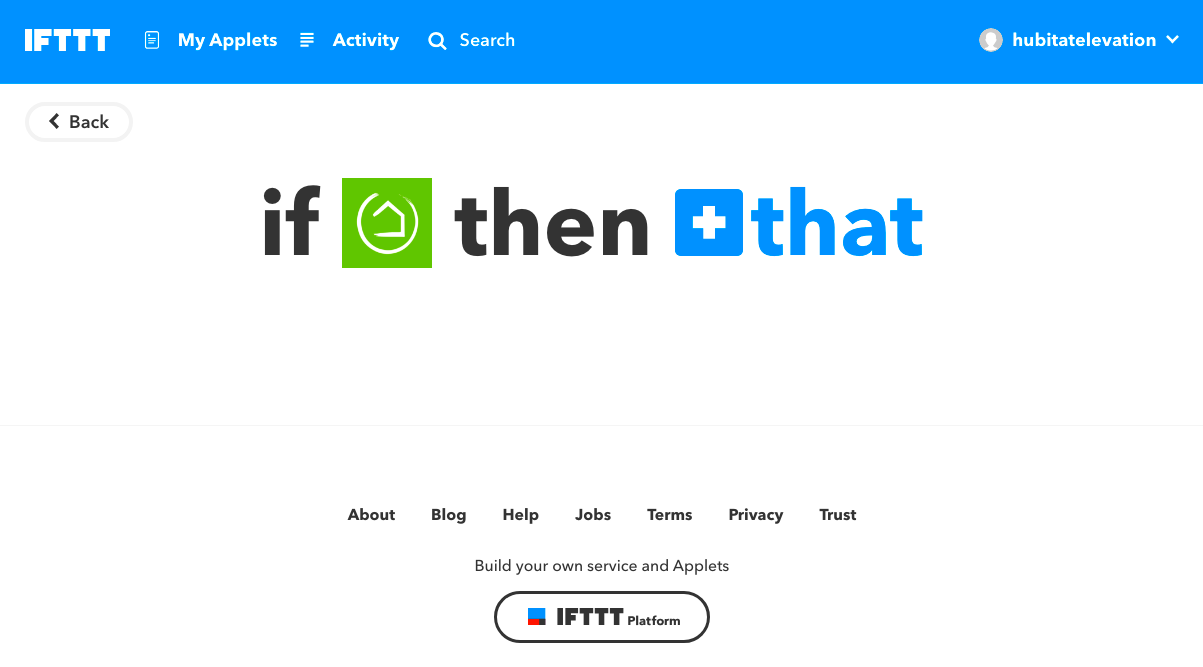
- Click or tap on + that.
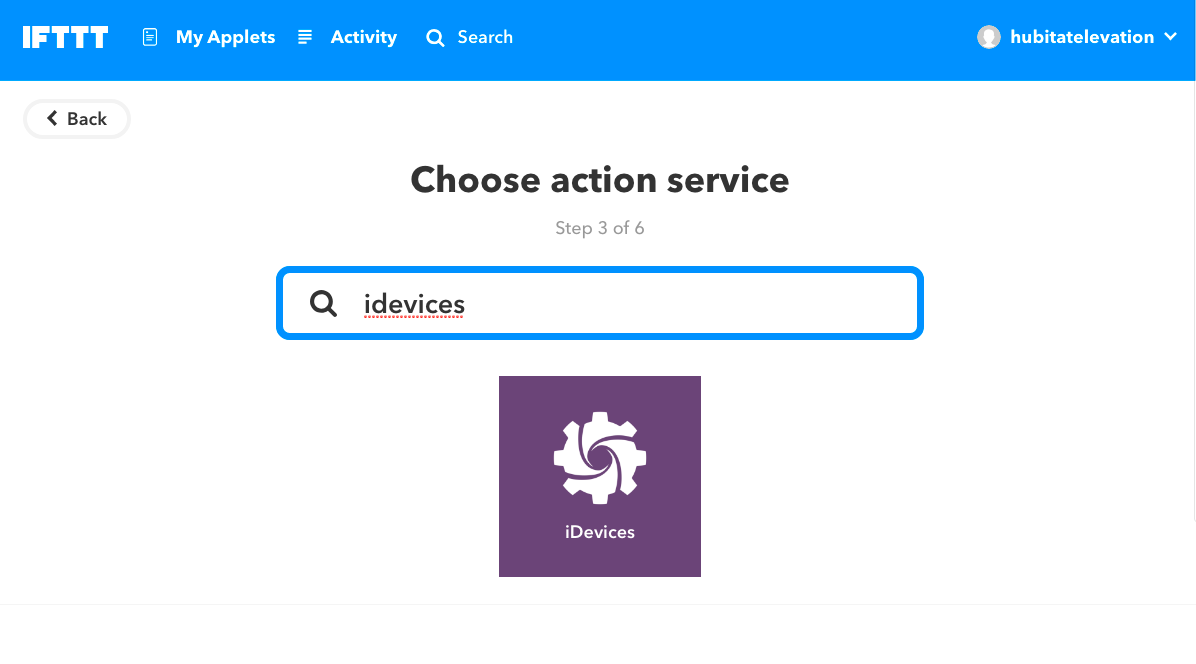
- Search for the IFTTT Service you want to be activated by the trigger from your Hubitat Elevation hub. In our example, we are searching for iDevices.
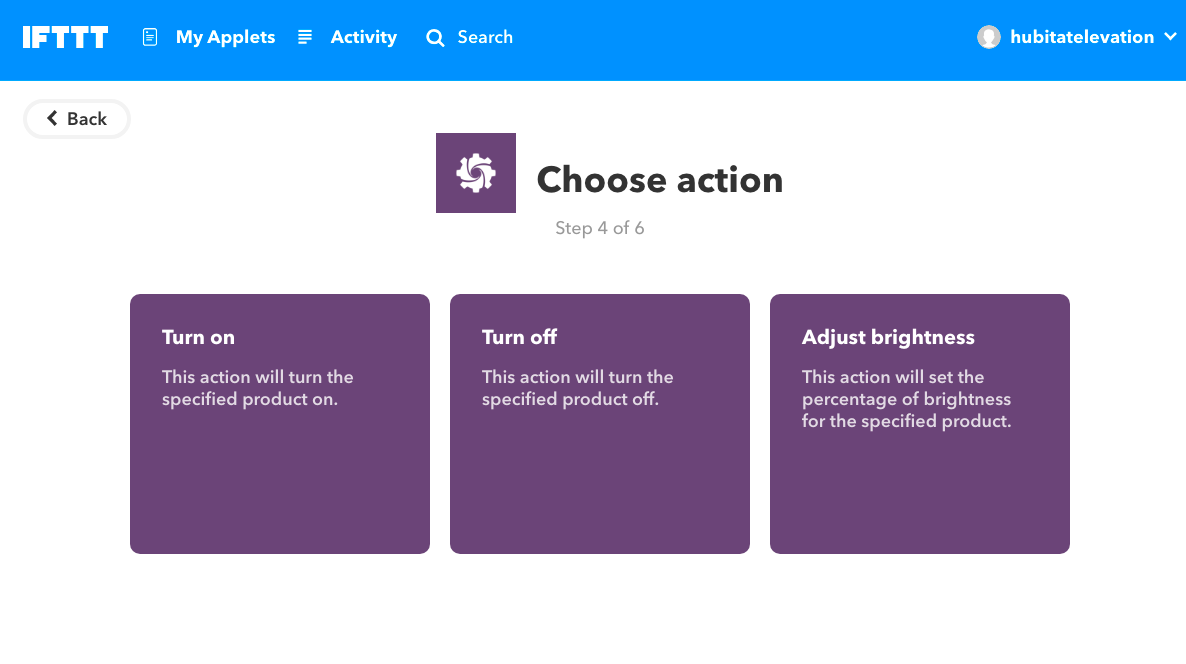
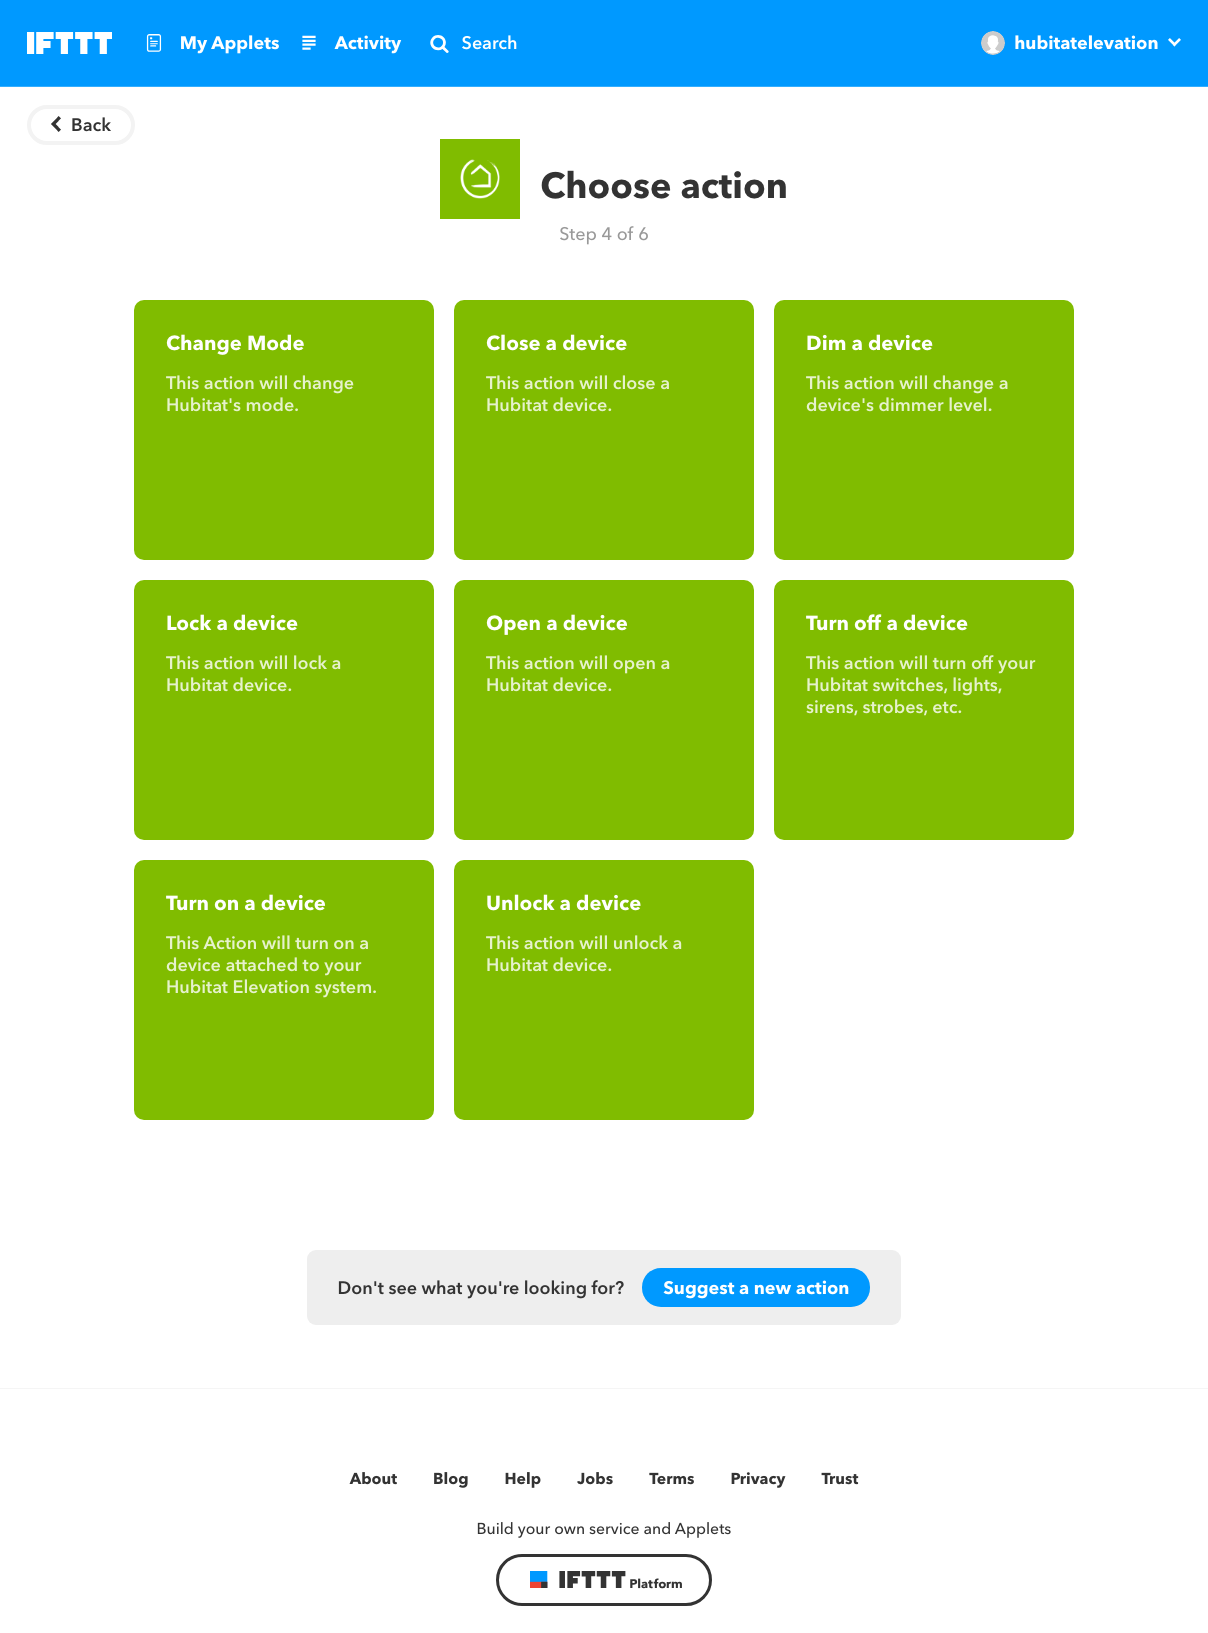
- Choose an available Action.
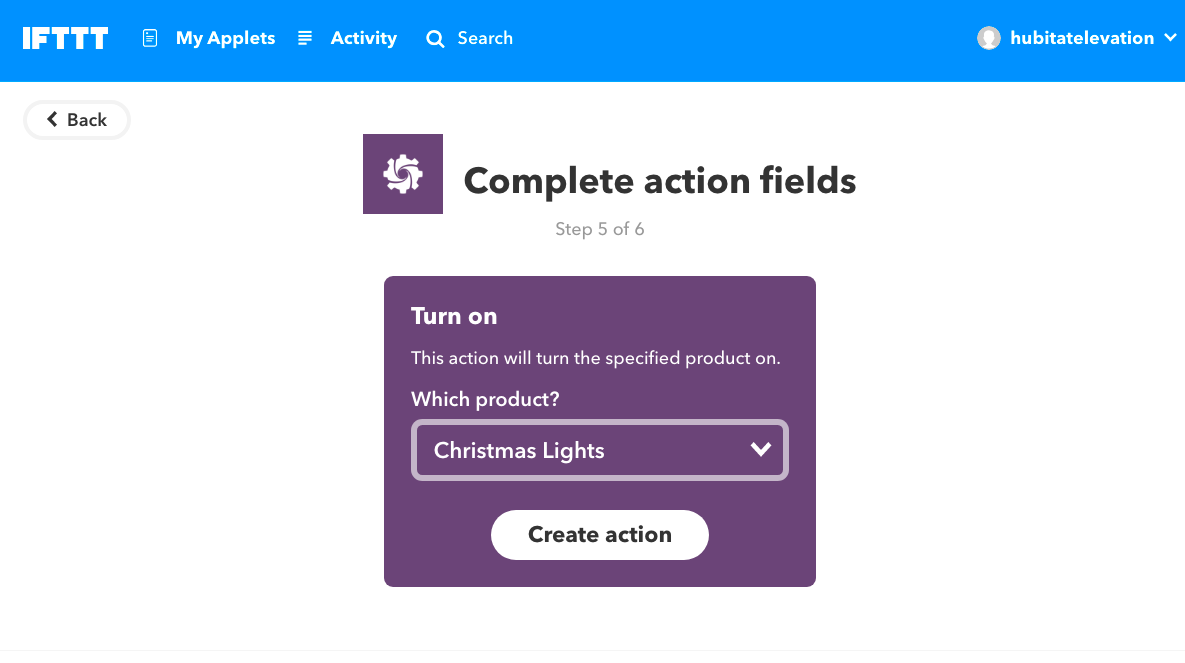
- Define the parameters for the Action and push the Create action button.
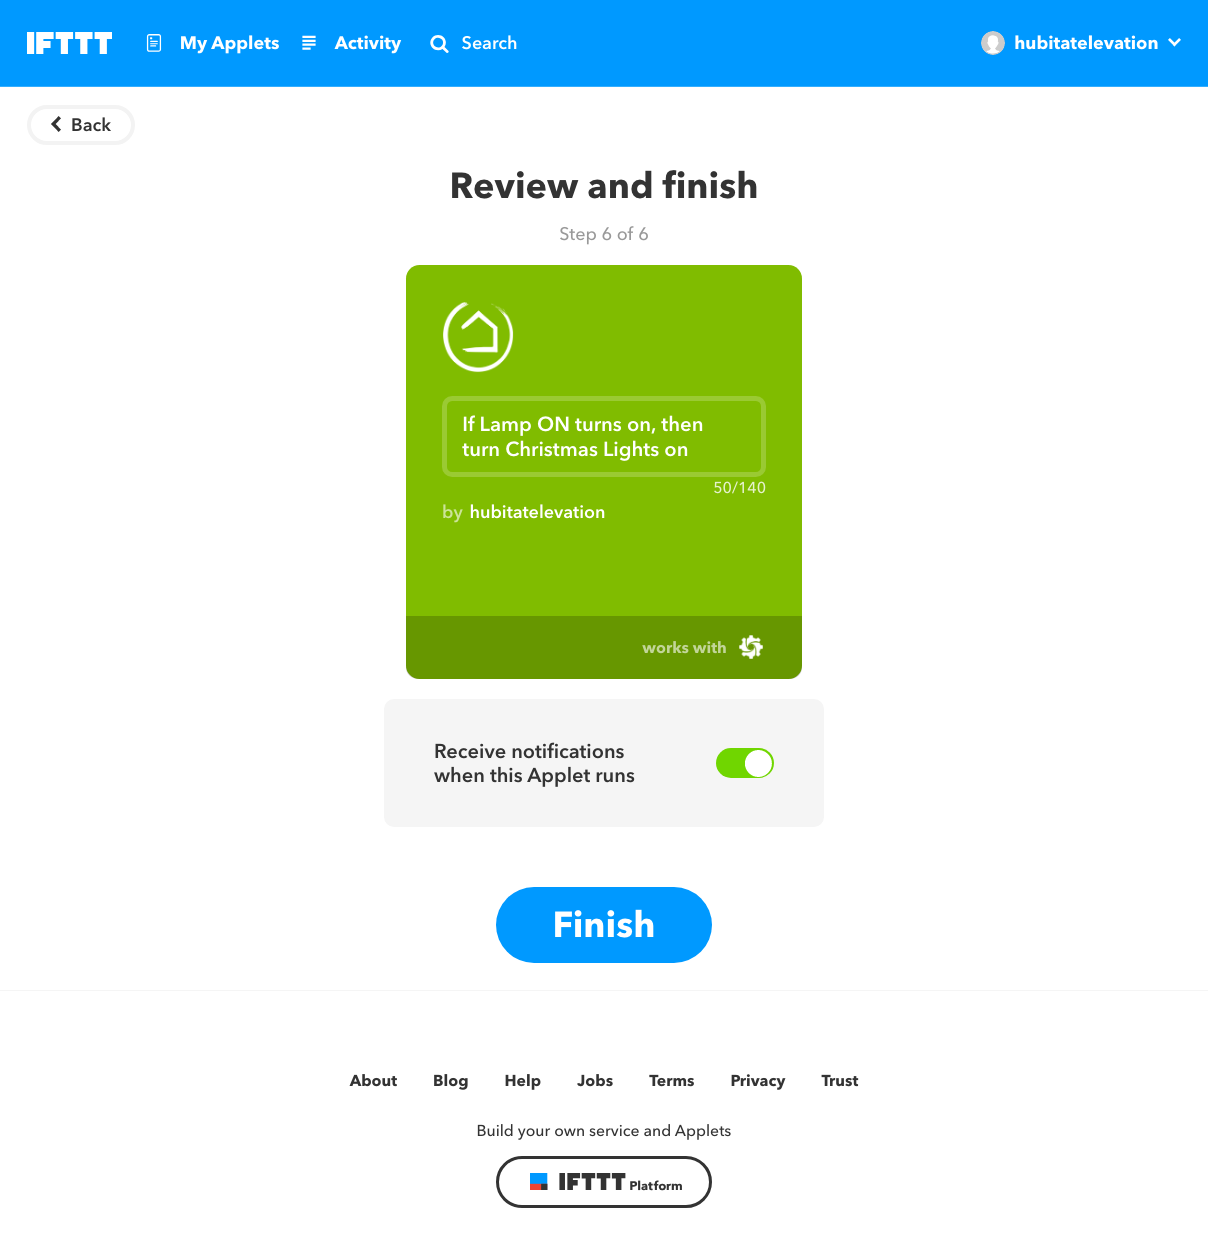
- Review your Applet to ensure it is what you want to happen. If you have the IFTTT app installed on your phone or tablet, you can receive a notification every time the Applet runs. This can be useful for testing or troubleshooting an IFTTT Applet, but if you don't want this, turn off the switch next to the words Receive notifications when this Applet runs. and press the Finish button.
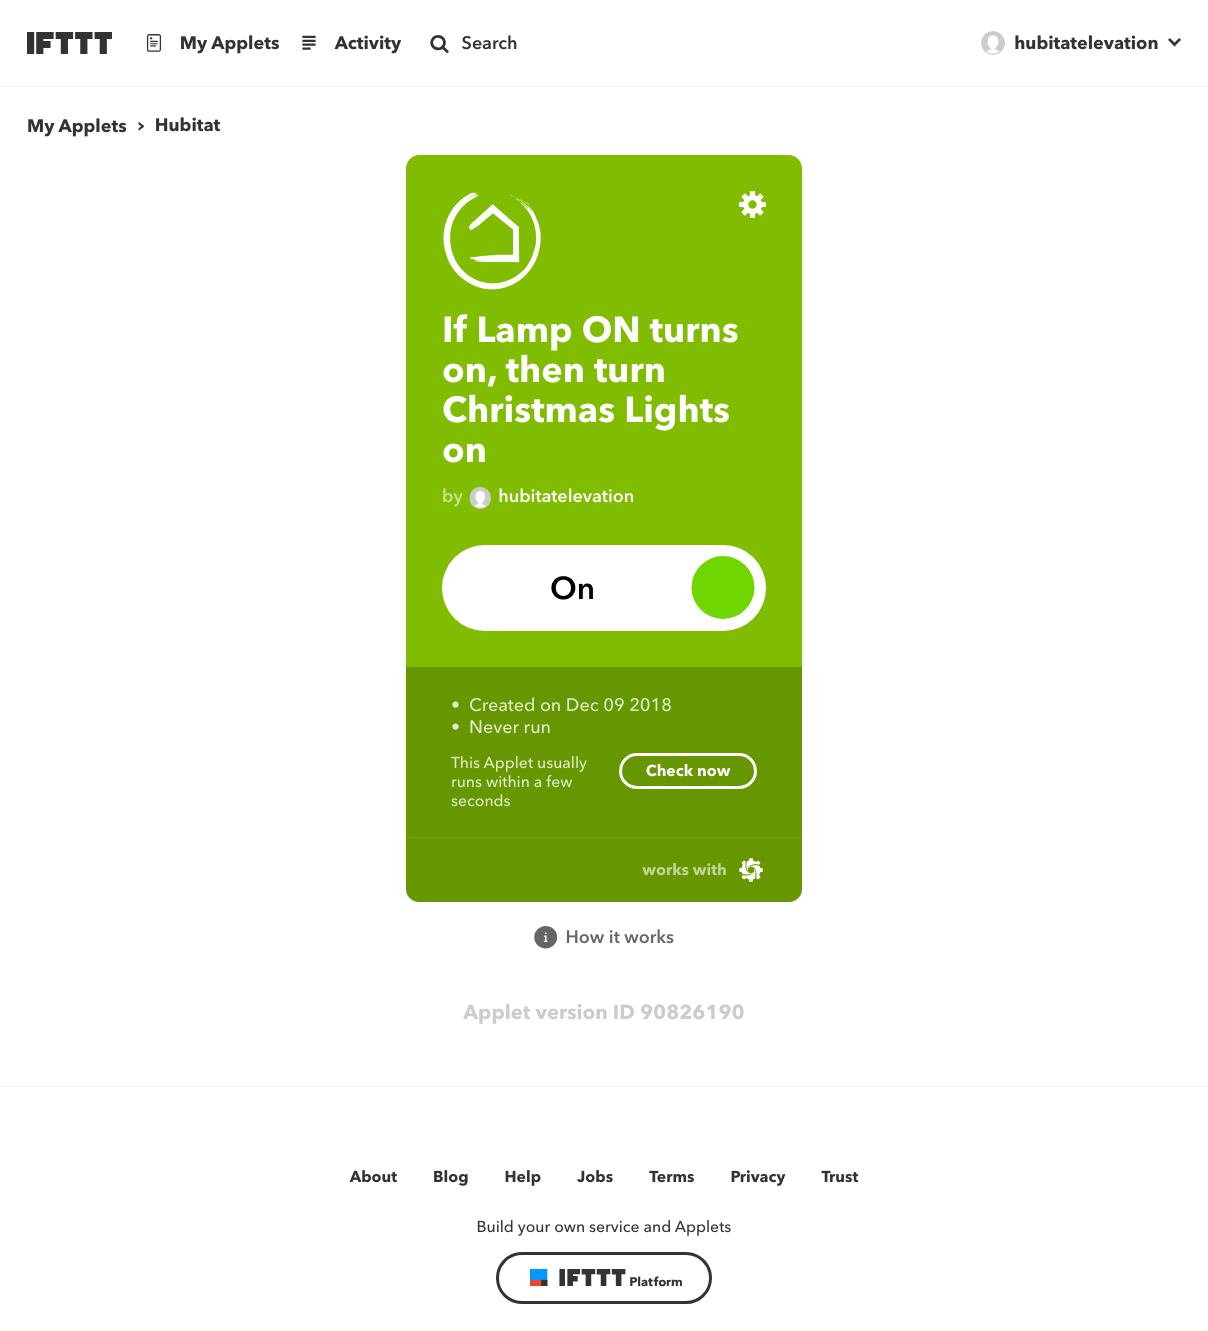
- Your first IFTTT Applet is now complete and you can navigate away from this page. In our example, when the virtual switch Lights ON is activated on our Hubitat Elevation hub, the IFTTT Applet will run in the IFTTT cloud and turn on Christmas Lights on the iDevices WiFi outlet. You can disable the IFTTT Applet by turning off the big switch in the middle of an IFTTT Applet overview. You can also edit the Applet by clicking or tapping on the gear icon at the top right of an Applet overview.
Control Hubitat Elevation with a trigger from another IFTTT Service
You can also reverse the previous example. Instead of Hubitat Elevation triggering another device, you can make another IFTTT compatible device or Service trigger something to happen on Hubitat Elevation®.